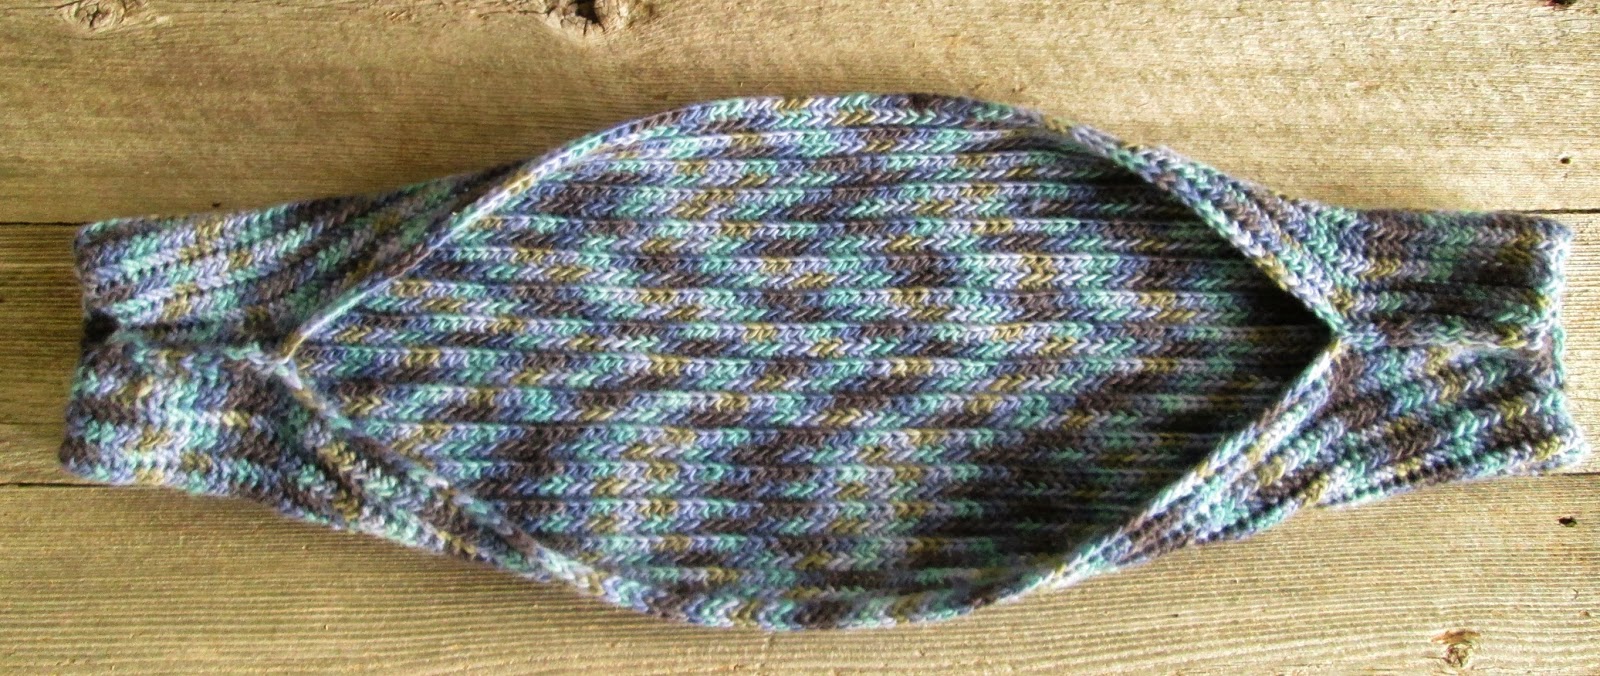
My first version of these mitts (from an earlier post) was
worked in Malabrigo Mecha, which is classified as bulky yarn. I decided to make
a pair in another bulky yarn, also by Malabrigo, called “Chunky”. The difference
in the size of these yarns - though they are in the same weight class and even
made by the same company - is
significant. “Mecha” gets you 130 yards per 100 grams. “Chunky” gets you 100
yards per 100 grams.
These seem like boring mathematical details when you’re
itching to crochet up something, but I had to alter the original pattern in
order to get correct results, so it does indeed make a difference and goes to
show that the weight system is only a guideline.
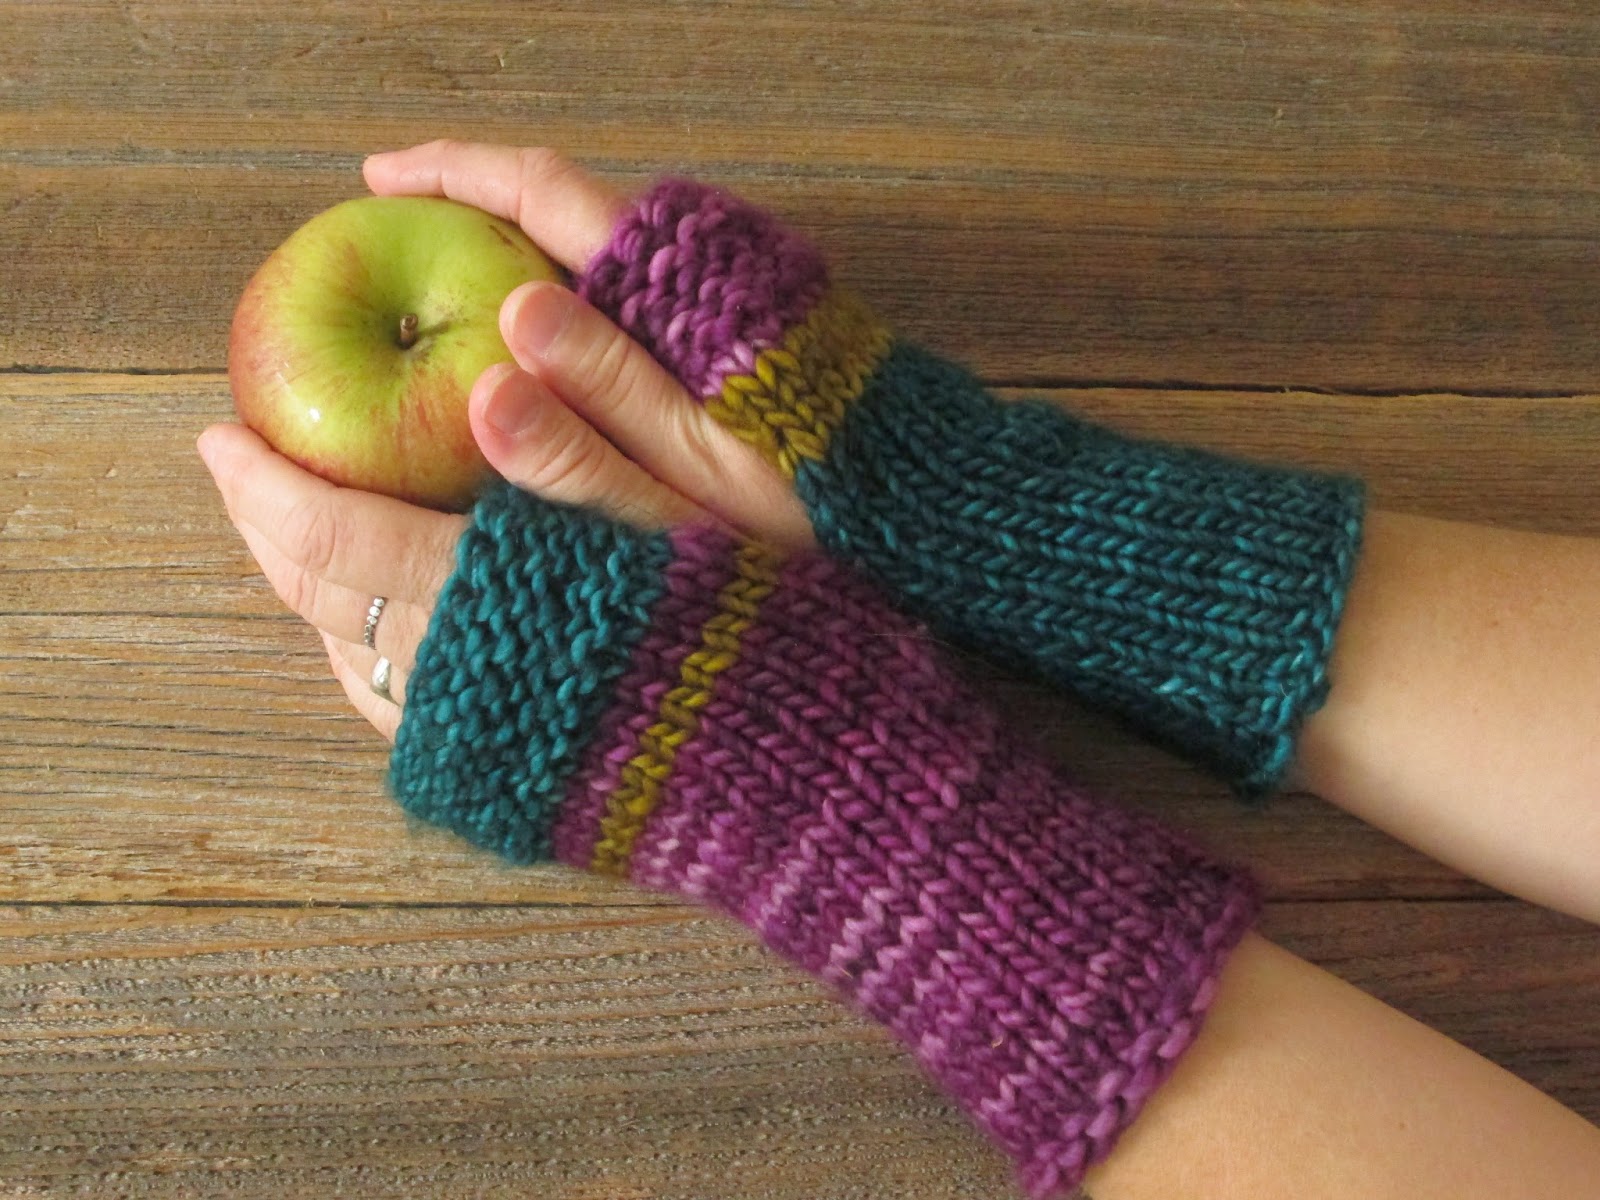
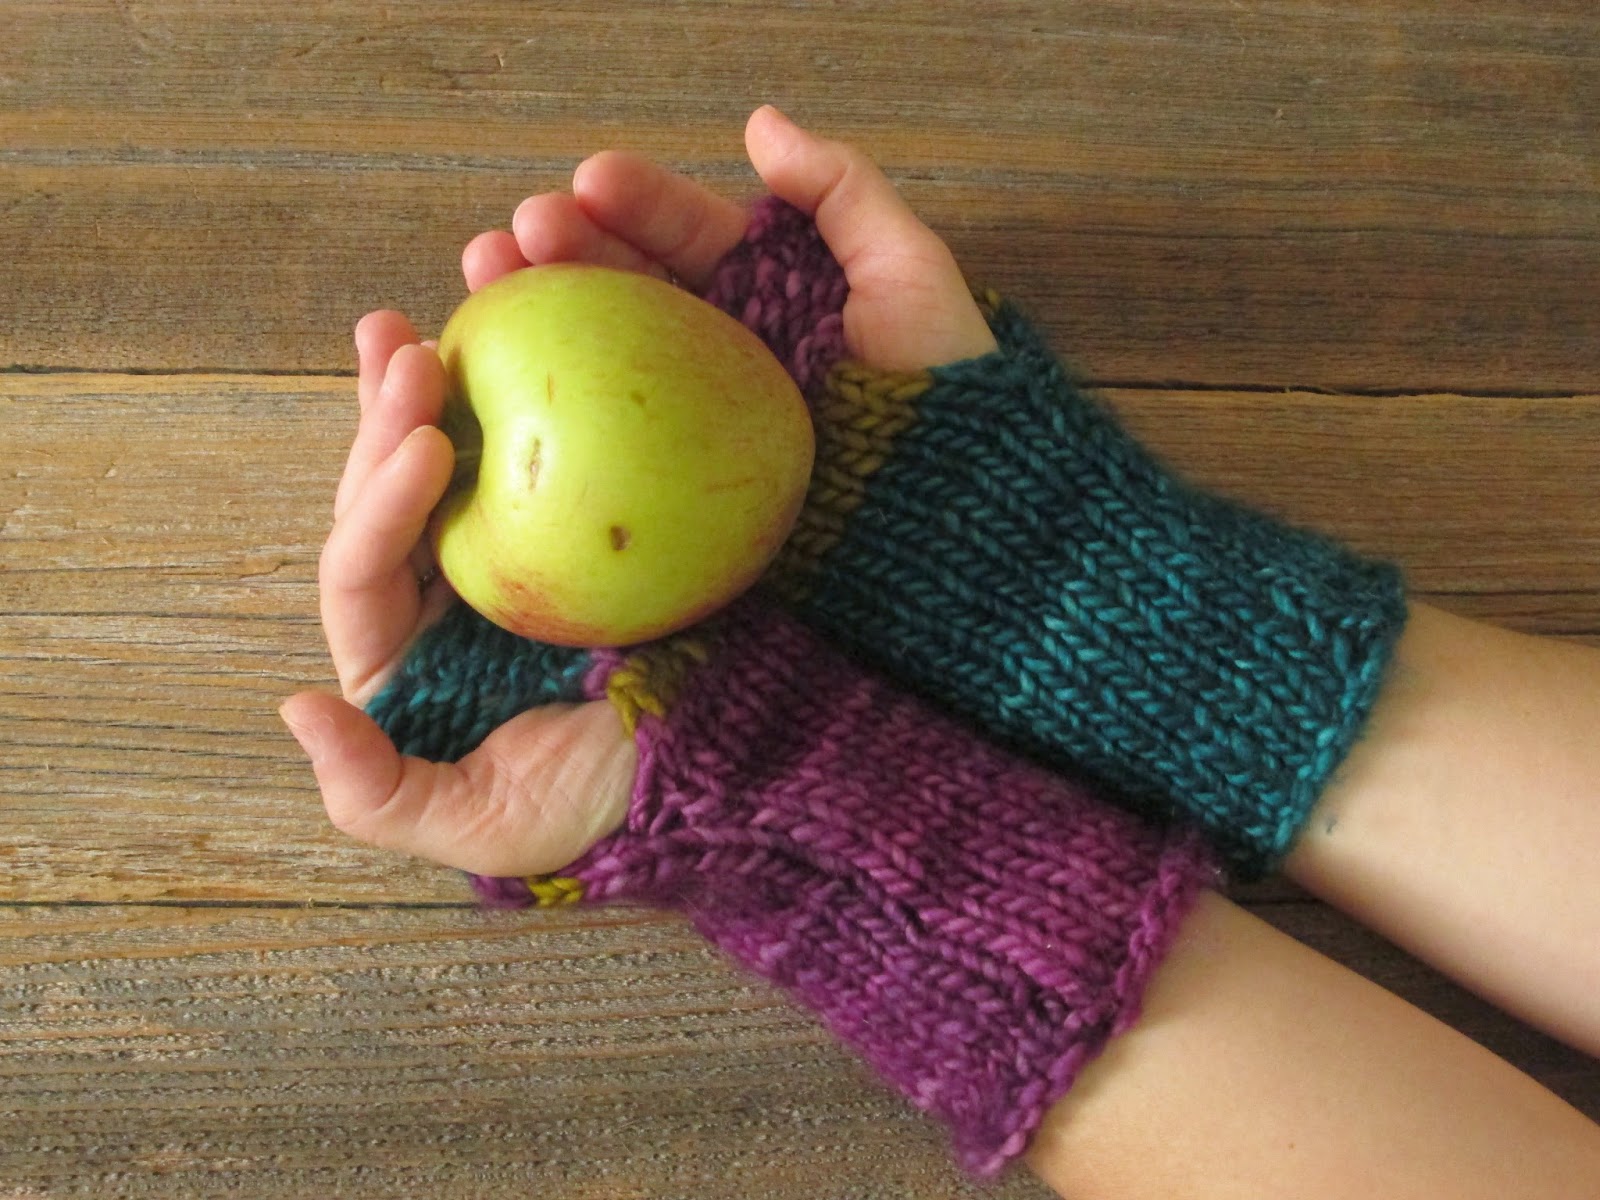
Other changes in this 2.0 pattern also include a cleaner join
where the color change occurs (if you’re not changing colors it is still cleaner). There is a right hand and left hand, instead of an interchangeable
set. This allows for better seam placement and I think may also lend a more
comfortable fit.
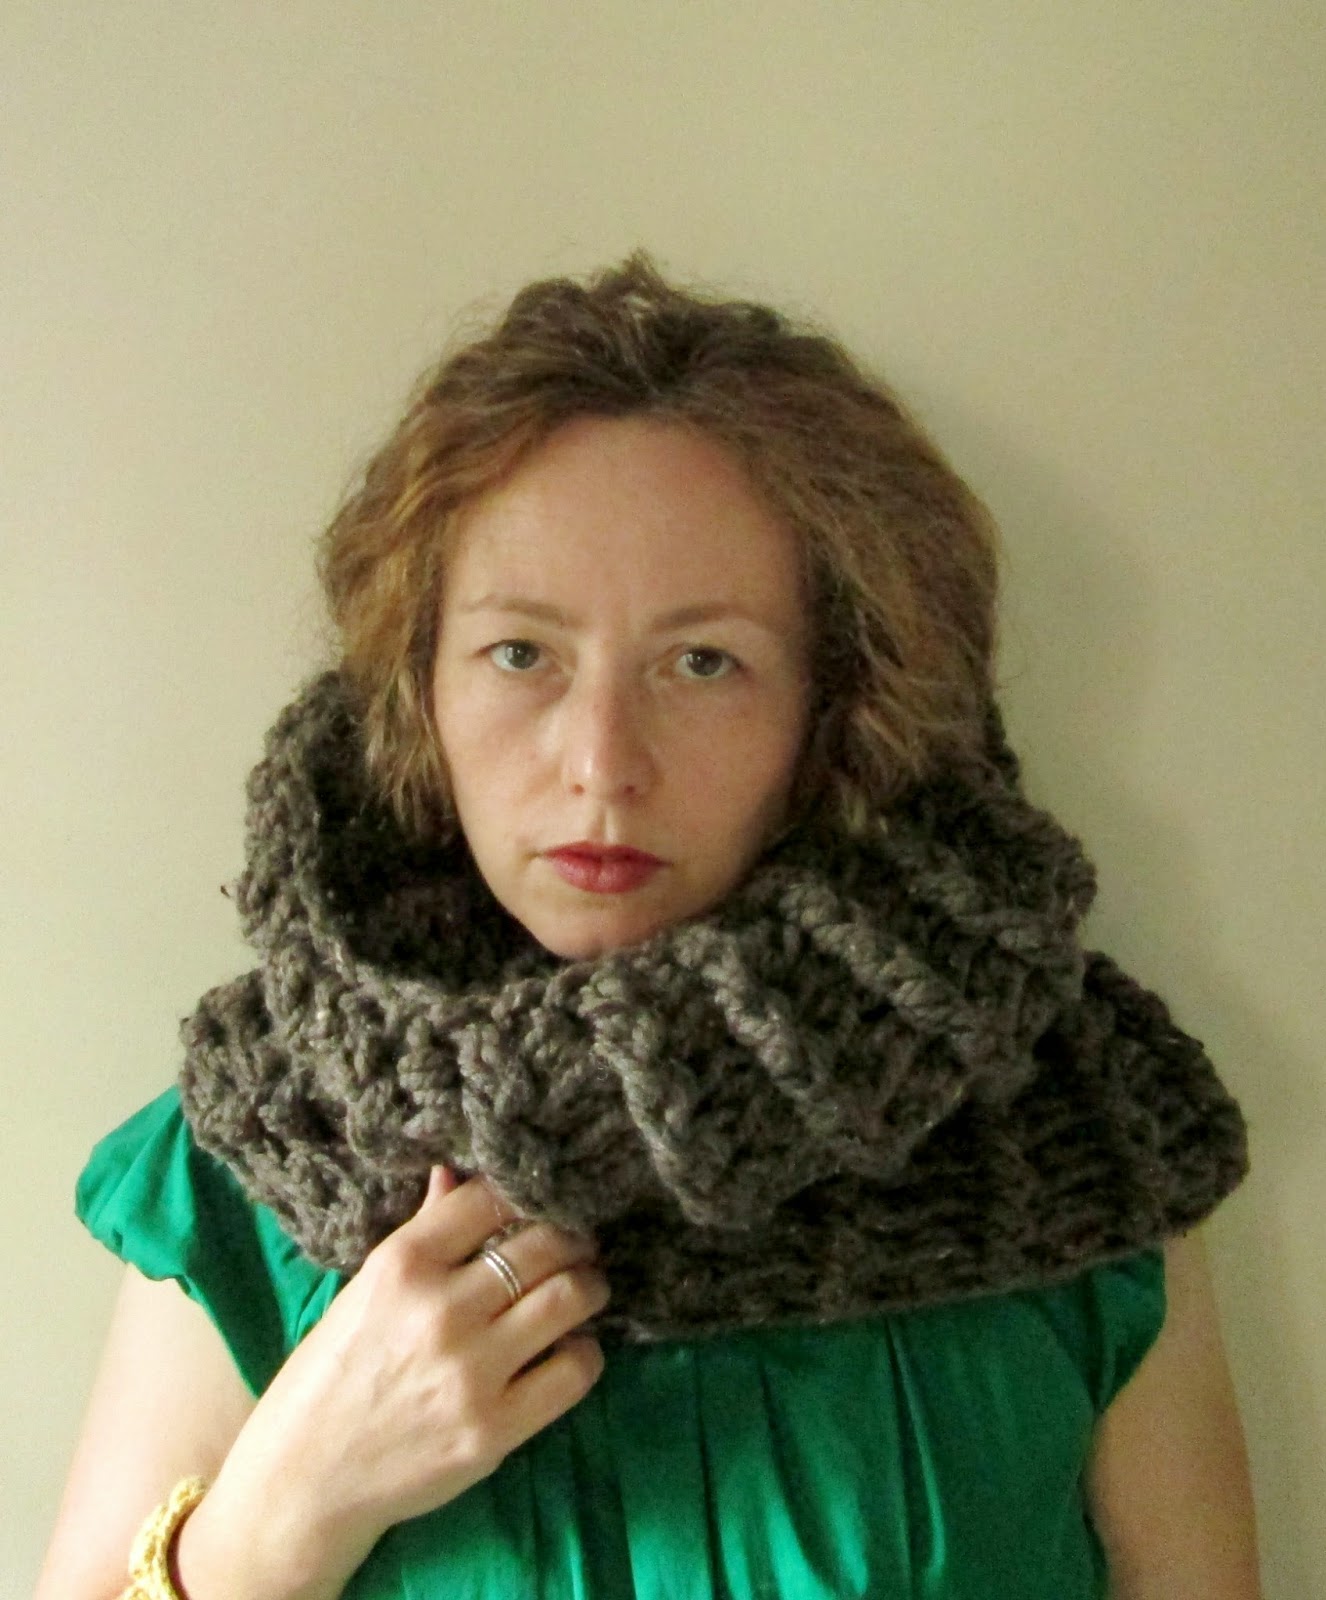
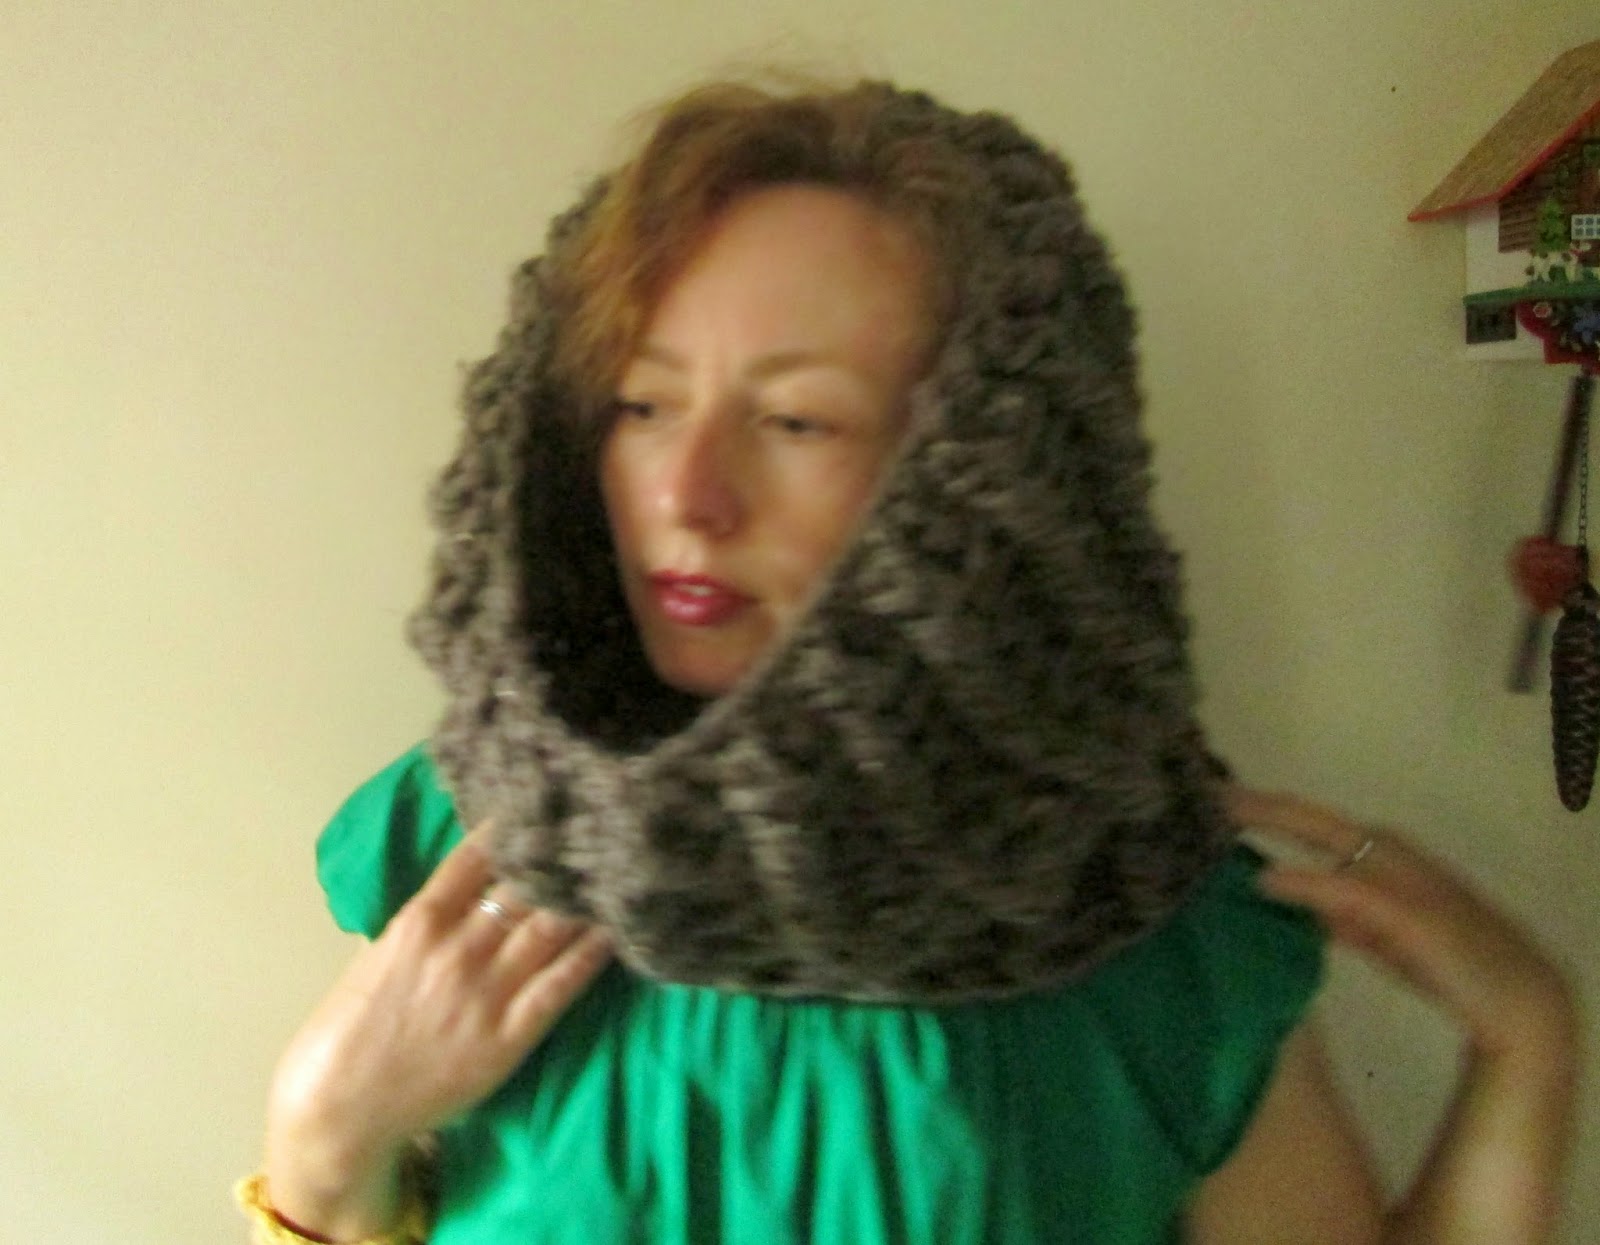
Mrs.
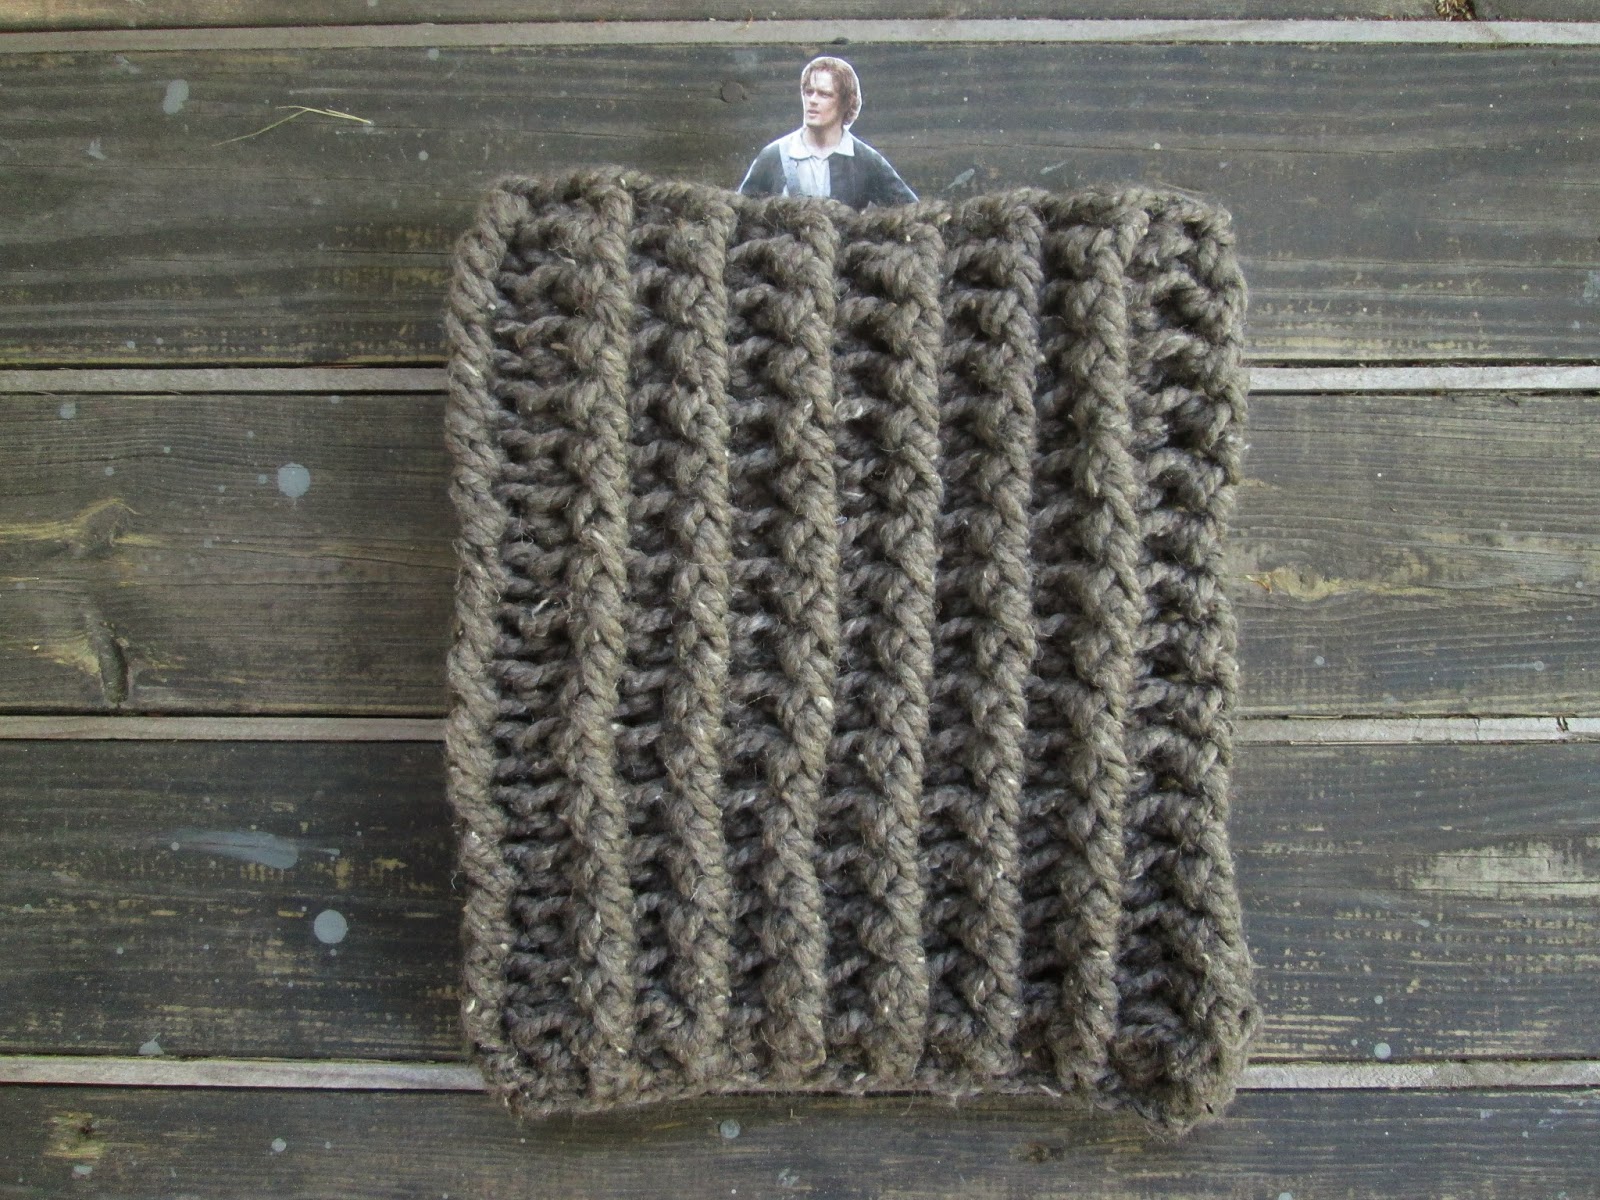
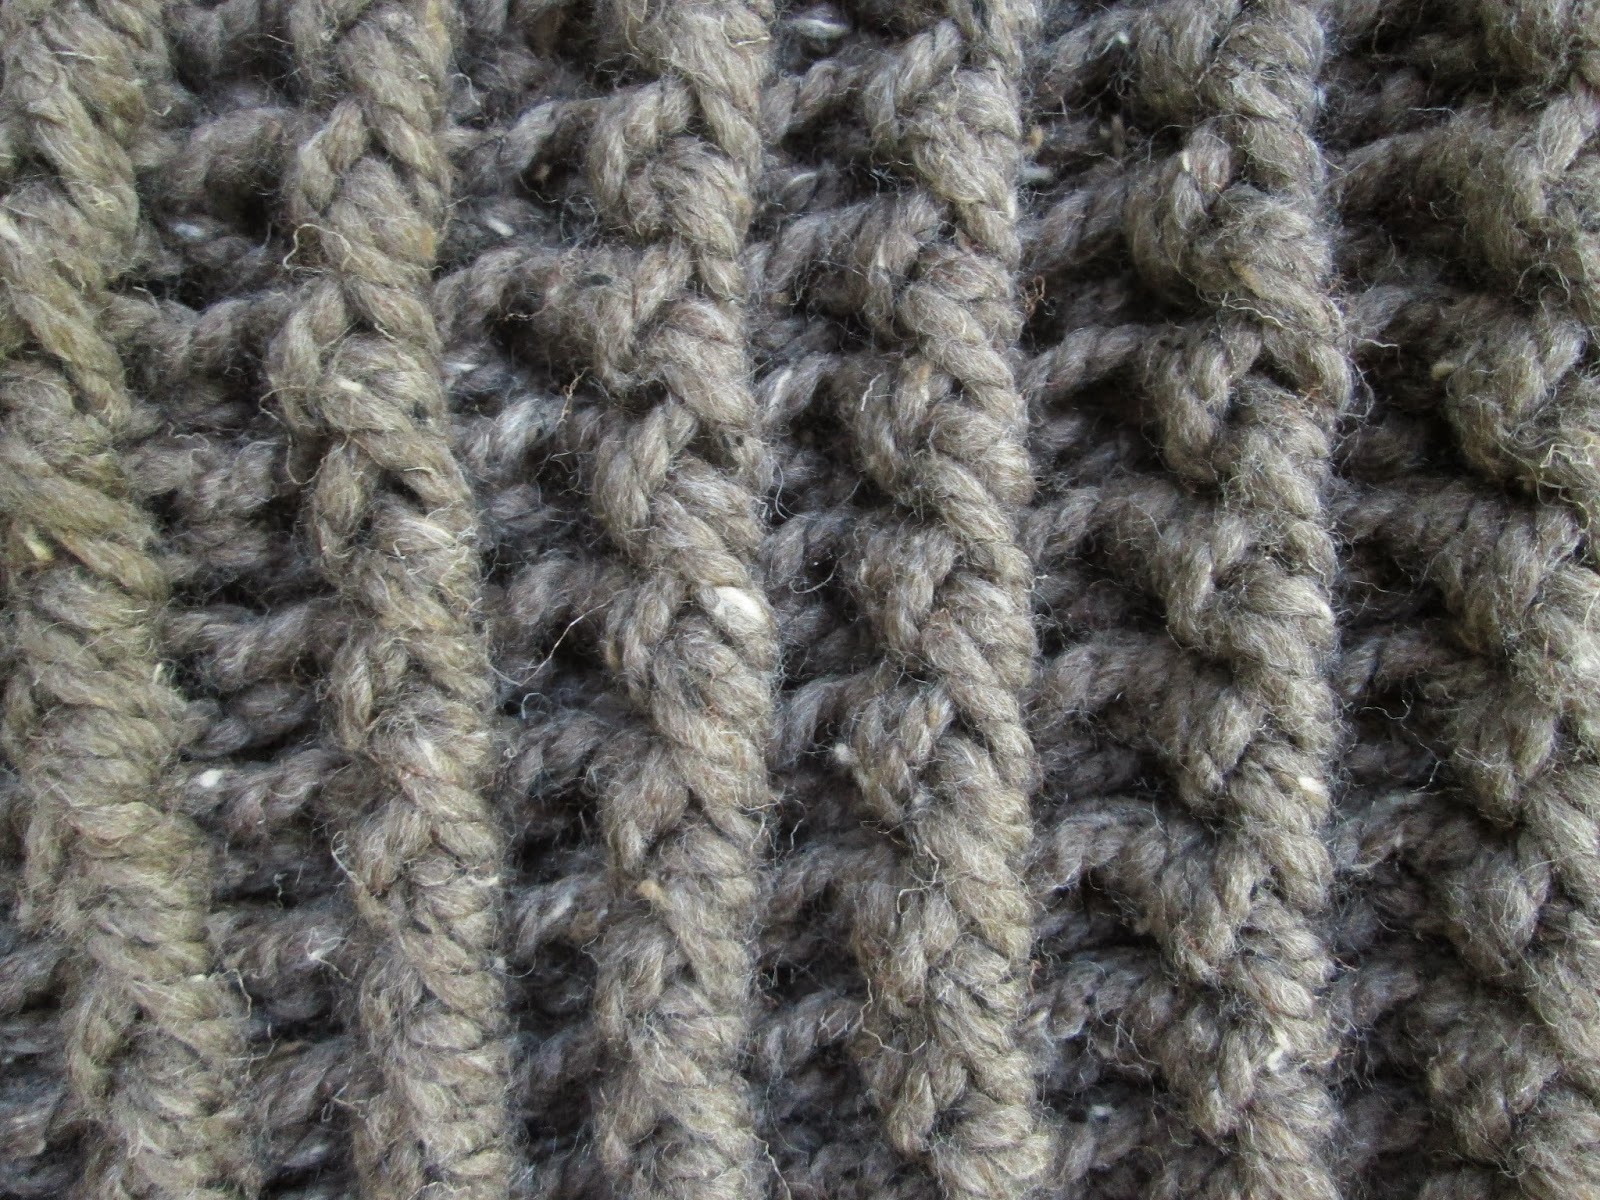
Fitz Mini Mitts Crocheted Version 2.0

Hook: 5.5mm / US size i
Yarn: Malabrigo “Chunky” 100 yards/100 grams. 1 skein is
*just* enough to make 1 pair in 1 solid color. I bought 2 skeins so I could
combine colors. I have enough to make 2 pairs. Each mitt weights 50 grams,
which is 50 yards of this yarn.
Size: Women’s Medium
Dimensions:
Flat before seaming: 9 in tall, 7 ½ in wide
Tube, after seaming: 9 in tall, 3 ½ in wide
Gauge: 14 sts and 12 rows = 4 inches in arm pattern

Boring Mumbo Jumbo section (same as version 1.0 except no Tr crochet)
Stitches used:
SC- single crochet
SC BLO – single crochet back loop only
SC FLO – single crochet front loop only
HDC BLO – half double crochet back loop only
HDC 3rd LIF – half double crochet through 3rd
Loop In Front
DC – double crochet
Method:
The arm is worked first, then you turn your work ¼ turn
clockwise to work the hand. The thumb is created by skipping stitches and
making a chain as a bridge over those stitches. These mitts are worked flat and
seamed when finishing.
Pattern Oddities and Necessary Blathering:
- I don’t skip the first stitch in every row when doing HDC.
I treat it like a SC, really. This keeps edges tidy and less holey. Even though
we’re seaming the edges, it’s not a place you want holes.
- I only ch1 for my turning chain on HDC. I think the fabric looks nicer.
-The last stitch of every row is worked as you normal would
(under both loops/legs). This keeps your edges tidy and less holey.
-The stitches for the arm are SC but worked in BLO and FLO.
The hand portion is mostly HDC, but worked in either the BLO or through the 3rd
loop in the front (LIF).
If the BLO, FLO, or LIF terms frighten you, here are some
wonderful video explanations:
HDC 3rd Loop in Front (LIF) - https://www.youtube.com/watch?v=d2nyqJZBfvA and a
nice blog post about this elusive stitch it at http://crochetpatterncompanion.blogspot.com/2014/06/how-to-crochet-into-that-third-loop-or.html
Ok
enough with the boring mumbojumbo, let’s start crocheting!!
PATTERN
ARM:
Foundation Row:
1. ch 21 (or if you do chainless foundations,
FSC 20, turn and go to Row 1)
2. Starting in the second chain of your hook, SC 20
stitches, turn.
Row 1 (RS) – ch 1, SC BLO 19, SC in last st, turn.
(20)
Row 2 (WS) – ch 1, SC FLO 19, SC in last st, turn. (20)
Repeat Rows 1 and 2 until you have worked 21 rows. (end with a RS row)
This fit around my forearm nicely (the short way – it will
be on its side) without being frumpy. For arms and hands bigger or smaller than
mine, you can make adjustments by making more or fewer rows, but please note
that you will also have to make adjustments when time to do the hand portion by
making more or fewer stitches. I have not tested any other sizes.
BOTH HANDS:
With RS facing, turn work ¼ turn clockwise and Ch 1, then work
23 HDC evenly into the edge, turn. Doing this row in the same color as the arm gives you a cleaner transition into the second color.

see how clean color change is on the left 2.0 compared to the right 1.0
Row 1 (WS) – If you are using a new color for hand, attach
it now which
counts as a ch 1 (cut your arm yarn, leaving 18 inch tail for seaming later). If you are not changing colors, then ch 1 and don’t cut your
yarn.
Not skipping the first stitch, work HDC into the 3rd
LIF all 23 sts, turn. (23)
Proceed to the left hand / right hand instructions.
LEFT HAND:
Row 2 (RS) – ((thumbhole
row)) ch 1, HDC BLO 5, DC 1, ch 5 , skip the 5 sts under them, DC 1, HDC
BLO 10, HDC 1, turn. (23)
Row 3 (WS) – ch 1, HDC LIF 12, HDC into back bumps of each
ch (5), HDC LIF 5, HDC 1, turn. (23)
Row 4 (RS) – ch 1, HDC BLO 22, HDC 1, turn. (23)
Row 5 (WS) – ch 1, HDC LIF 22, HDC 1, turn. (23)
Row 6 (RS) – work as row 4
Row 7 (WS) – work as row 5
Cut yarn, leaving a tail to seam with. Give yourself 24
inches or so tail to seam with if you used 1 color for your mitts. If you did
hand in different color you only need 10 inches or so to seam it, and then
you’ll pick up your other color tail to seam the arm portion.
RIGHT HAND:
Row 2 (RS) - ((thumbhole
row)) ch 1, HDC BLO 11, DC 1, ch 5, skip the 5 sts under them, DC 1, HDC
BLO 4, HDC 1, turn. (23)
Row 3 (WS) – ch 1, HDC LIF 6, HDC into the back bumps of
each ch (5), HDC LIF 11, HDC 1, turn. (23)
Row 4 (RS) – ch 1, HDC BLO 22, HDC 1, turn. (23)
Row 5 (WS) – ch 1, HDC LIF 22, HDC 1, turn. (23)
Row 6 (RS) – Work as row 4
Row 7 (WS) – Work as row 5
Cut yarn, leaving a tail to seam with. Give yourself 24
inches or so tail to seam with if you used 1 color for your mitts. If you did
hand in different color you only need 10 inches or so to seam it, and then
you’ll pick up your other color tail to seam the arm portion.
Finishing Instructions for both mitts:
Weave in ends. Fold mitts with RS out and sew your seams
shut, then weave in your seam tail ends.
Good work!!!!
Please let me know if you have any questions. This pattern has been checked and edited but if you think there are errors, let me know! :)